FasterPay for Shopify
FasterPay partners with Shopify to allow merchants anywhere in the world accept payments.
Step 1: Set up your shop
- In order to use FasterPay for Shopify, you need to have an active Shopify account. If you don’t have one, please create an account
- You can start setting up your shop using the instructions from Shopify’s getting started tutorial
Step 2: Install the FasterPay App for Shopify
- Use the following link to initiate the installation: INSTALL FASTERPAY
- Select the store where you would like to use FasterPay

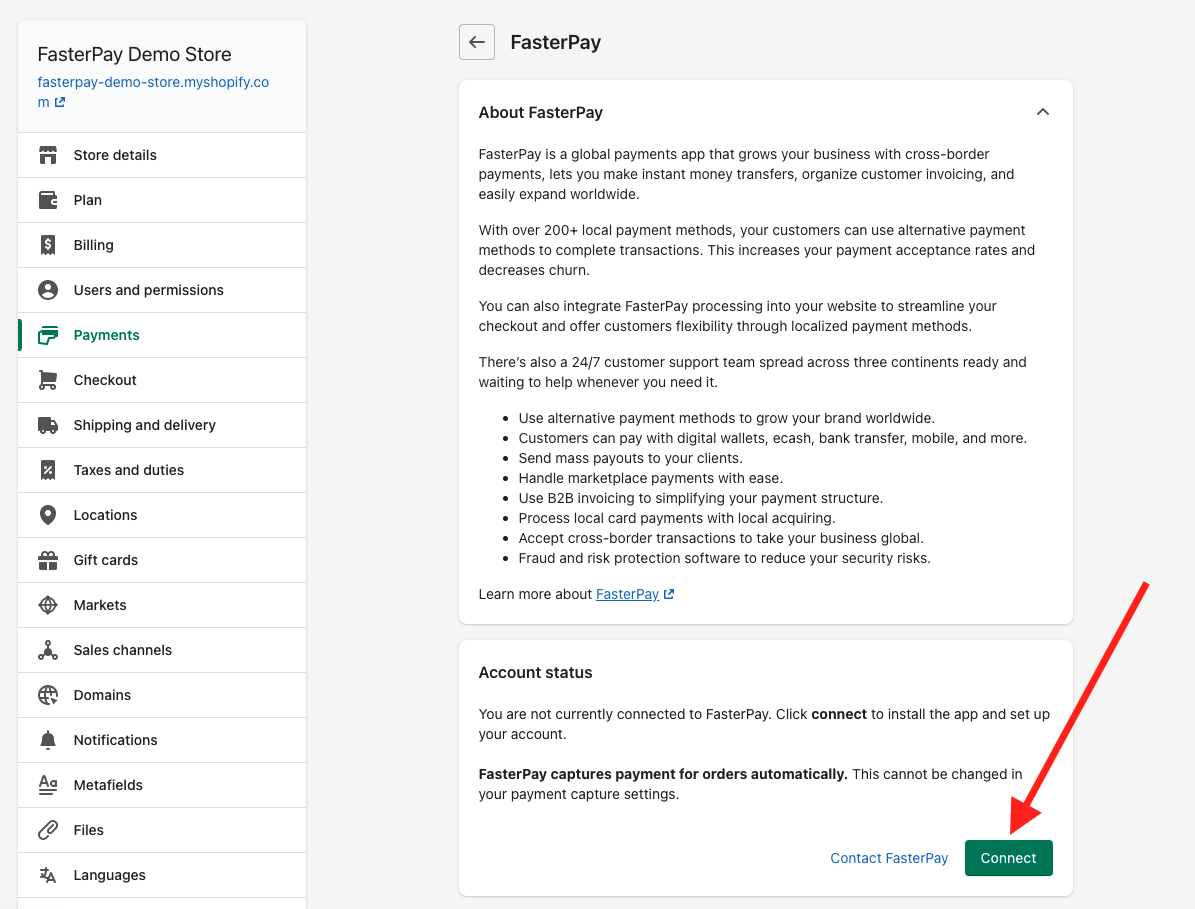
- When the page with the app description is loaded - click Connect to FasterPay
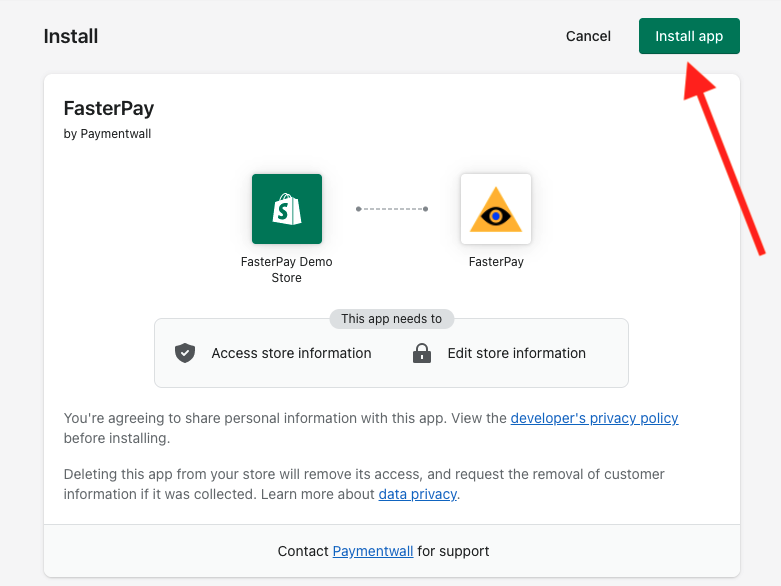
- On the next page click Install app
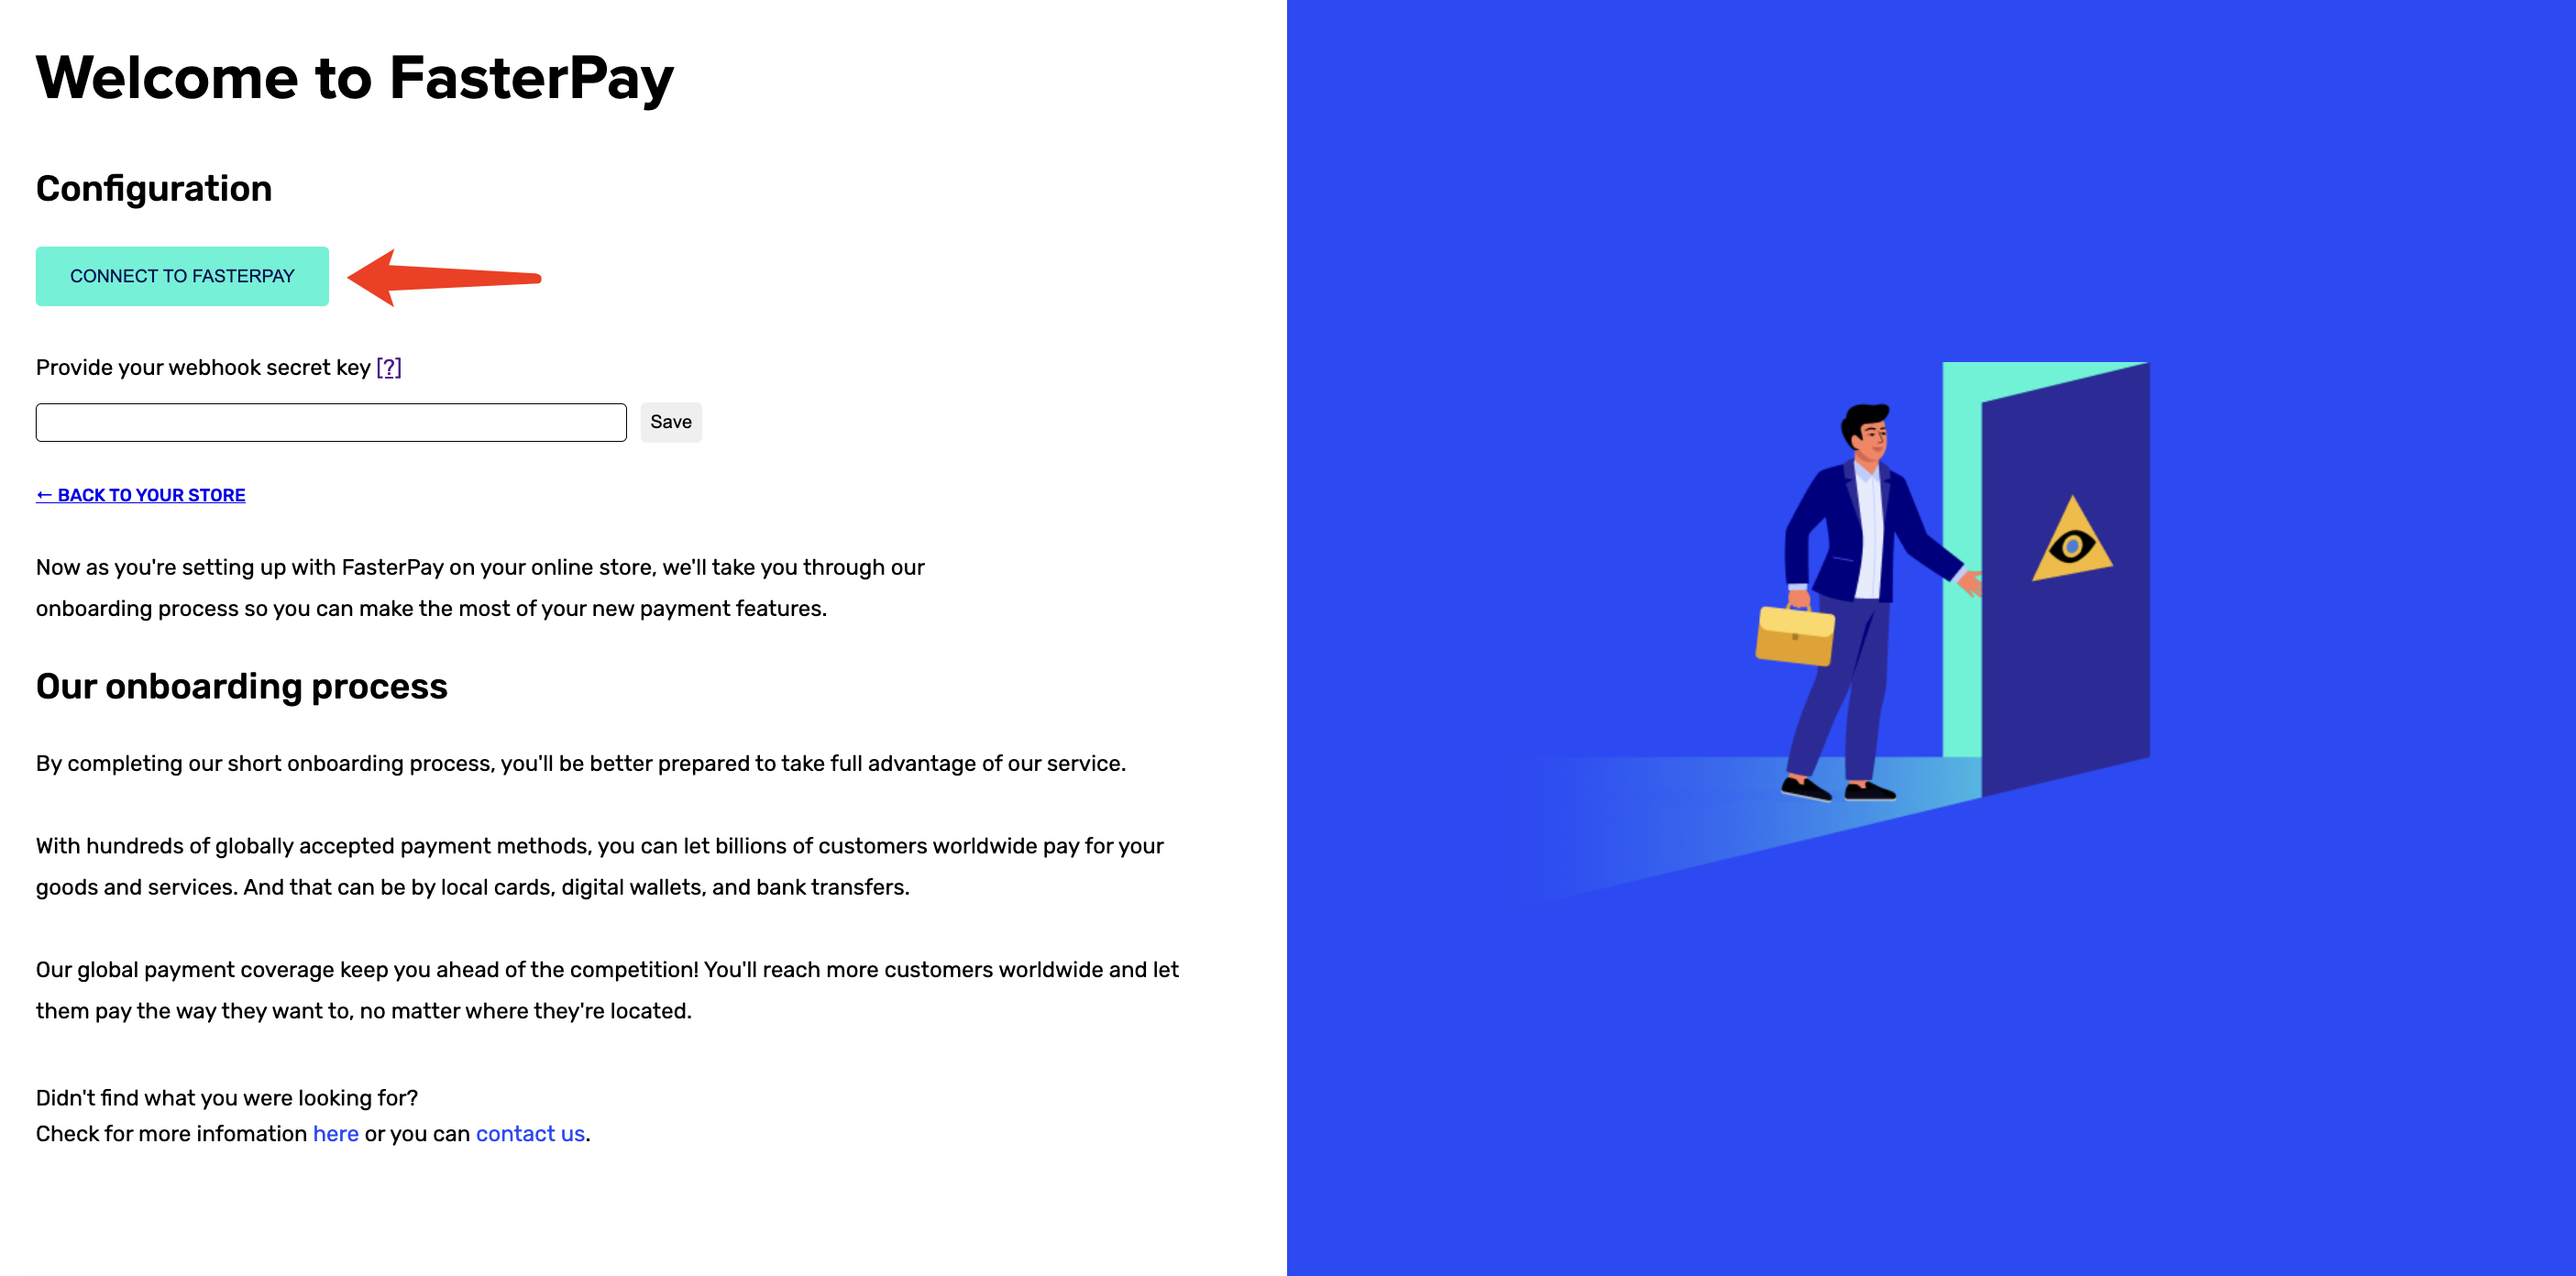
- You will be redirected to the FasterPay connection page. Click Connect To FasterPay
- On the next page, please login if you already have a FasterPay account or sign up for a new account if you don’t have it yet.
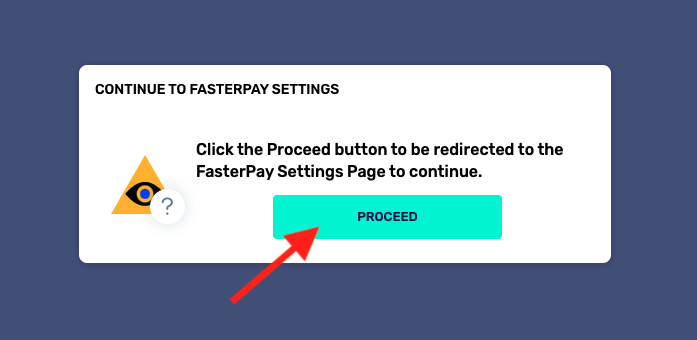
- Click Proceed in the dialog.
- You will be redirected back to the FasterPay connection page. Click Back to your store link

- One last thing to do: scroll down and click Activate

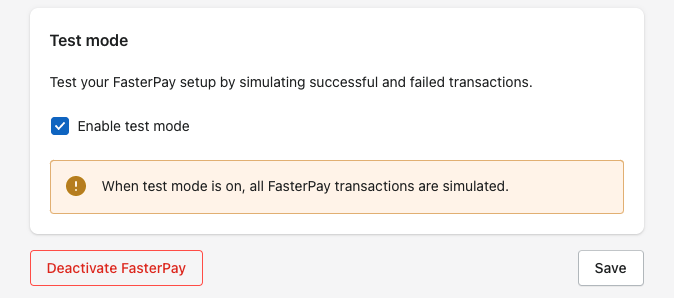
Recommended step: If you need to test your integration before you start accepting real payments - check Enable test mode checkbox and click Save
Step 3: Configure Delivery Confirmation
Delivery Confirmation allows you to notify FasterPay about successful delivery of the purchased item(s) to the customer. This information helps us resolve dispute cases and refund requests in the fastest and the most efficient manner.
Follow this guide to integrate the Delivery Confirmation:
Step 4: Let’s Go Live!
Once you’ve finished testing your integration - it’s time to go live with FasterPay!
Complete your Business Account Settings
- Log in to your FasterPay account
- Go to FasterPay Processing
- Go to Overview
- Fill in your Business profile
Once your Business is approved by our Internal Teams, you should see the following on your FasterPay Business Area Overview Page.

Disable test mode in FasterPay app settings
Use this link to go to the FasterPay app settings, or just follow the steps below:
- Log in to your Shopify Store Admin
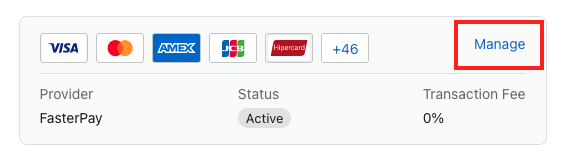
- Go to Settings → Payments
- Find FasterPay and click Manage
- Scroll down and uncheck Enable test mode
- Click Save
Once these steps are complete, you can start processing live payments on your Shopify store.